
Why Block Preparation Matters
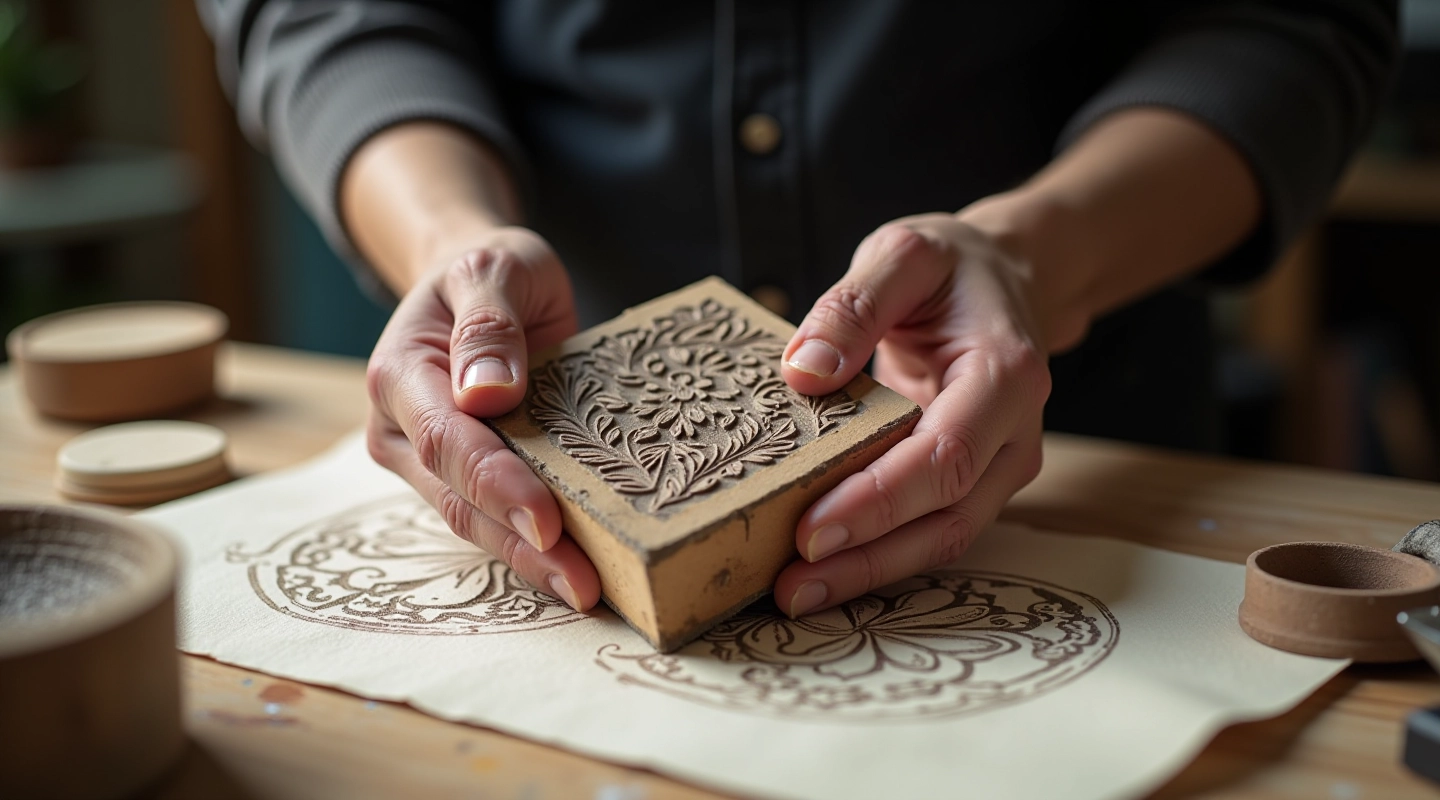
Here's the thing — most beginners jump straight to carving. Don't do that. The quality of your finished print depends almost entirely on how well you prepare your block. A smooth, properly leveled surface makes carving easier, your cuts cleaner, and your prints sharper.
We've seen it happen a hundred times. Someone gets excited, starts carving into a rough block, and then struggles to get consistent ink coverage. The block wasn't ready. Spend thirty minutes now on prep, and you'll save hours of frustration later.
Choosing the Right Block
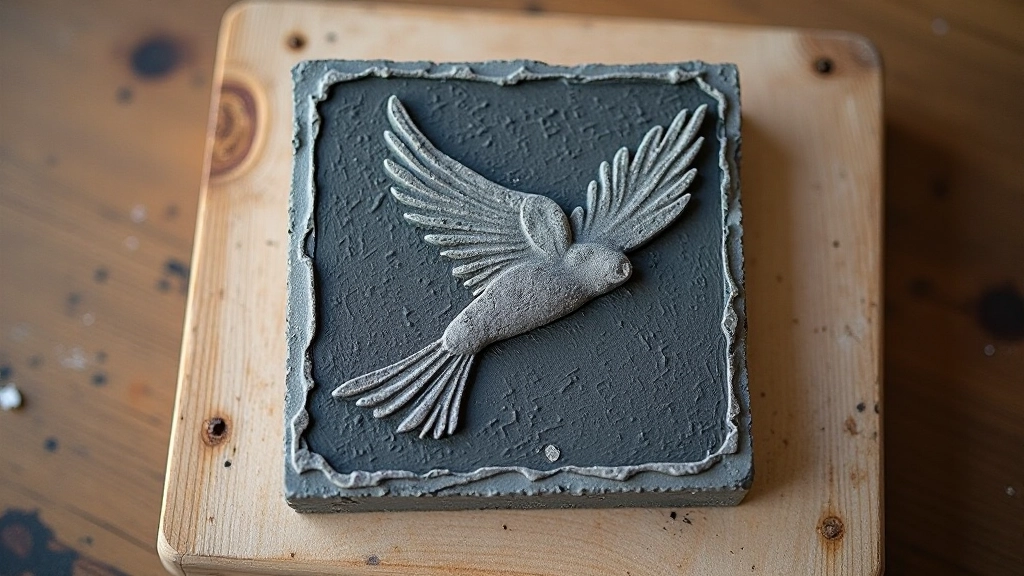
Not all linoleum blocks are created equal. You'll find battleship gray blocks (the standard) and brown blocks. The gray ones are easier to carve — they're softer and more forgiving when you're learning. Brown blocks are harder and hold finer detail, but they're frustrating for beginners because they require more pressure.
Size matters too. A 4x6 inch block is perfect to start. It's big enough to work with but not so large that you'll tire out your hand. We recommend mounting your block on a wooden backing board (called a mounted block) rather than loose battleship blocks. It's easier to grip and much safer.
Pro tip: Store your blocks flat in a cool, dry place. Linoleum expands and contracts with temperature changes, so avoid direct sunlight and damp basements.
Cleaning and Leveling Your Surface
Before you touch a carving tool to the block, it needs to be clean and level. Dust, scratches, and bumps will mess with your design transfer and create problems when you're inking.
The Cleaning Process
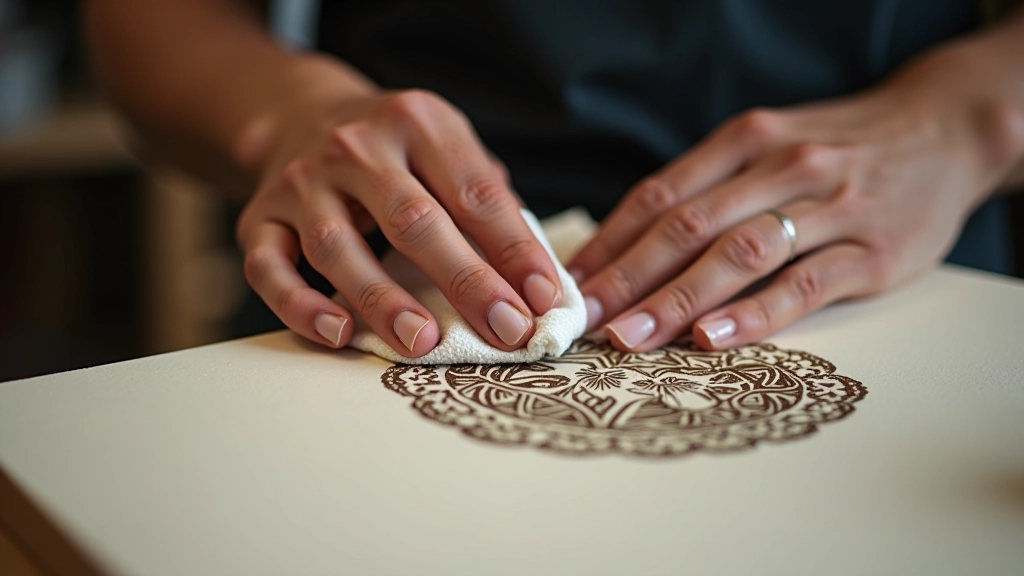
Start simple. Wipe the block down with a soft cloth and some warm water. If it's dusty or has old residue, use a bit of mild soap. Dry it completely — water sitting on the surface will interfere with your design transfer.
For stubborn marks or manufacturing residue, fine-grit sandpaper (220-grit or higher) works well. Light passes only — you're not trying to sand down the block, just smooth out the surface. Sand in one direction, then wipe away the dust.
Check if your block is level. Place a straight edge across the surface. You'll spot any dips or raised areas immediately. If it's slightly warped, don't panic. Most mounted blocks are stable enough for printing, but if you've got a significant curve, you might need a different block.
This guide is informational and designed to help beginners understand the fundamentals of block preparation for linocut printmaking. Actual results depend on your specific materials, techniques, and practice. Always follow manufacturer recommendations for your specific linoleum blocks.
Transferring Your Design
Now comes the fun part — getting your design onto the block. There are several methods, and they all work. It's about finding what works best for you.
Graphite Transfer Method
Print your design on regular paper. Flip it over and scribble the entire back with a soft pencil (2B or 4B). Place it on your block, design-side up, and trace over the lines with a ballpoint pen. The graphite transfers to the block.
Carbon Paper Method
Place carbon paper (transfer paper) on the block, then your printed design on top. Trace over the lines. This works faster than graphite and gives you cleaner lines. You'll get light gray marks that are easier to carve with.
Direct Drawing Method
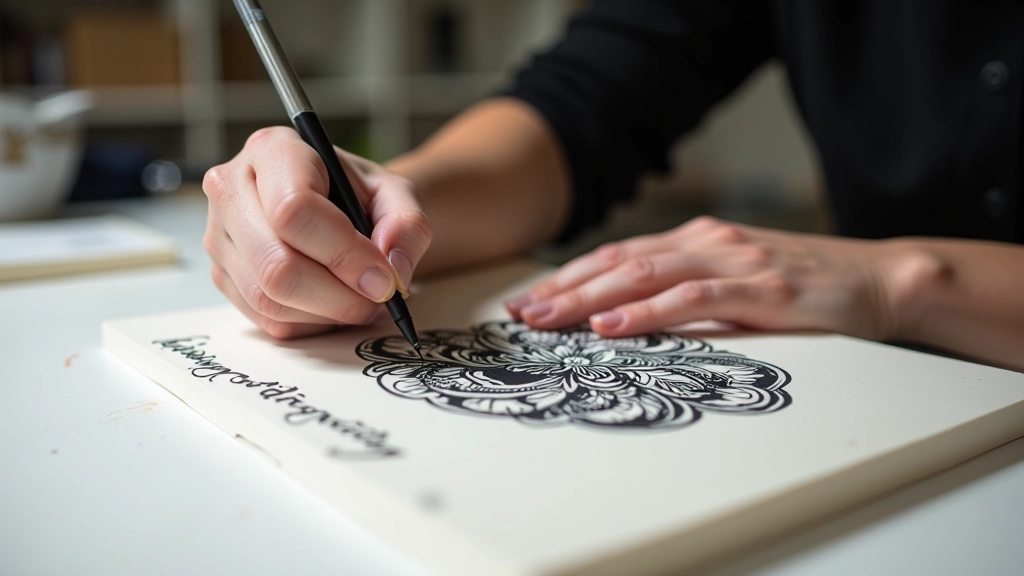
Skip the transfer. Draw directly on the block with a fine-tip pen or pencil. This takes confidence, but once you're comfortable, it's the fastest method. You'll see your lines clearly and can adjust as you draw.
Making Your Lines Visible
Whatever transfer method you use, make sure the lines are dark enough to see while you're carving. Faint marks will disappear after a few strokes, and you'll lose your place.
Some carvers use a light box or tape the design to a sunny window to see through the block. Others place the block on a printed design and trace over it. The key is having clear reference lines that won't smudge or fade as you work.
One thing we always tell students: don't stress about perfect precision. Linocut is forgiving. Small variations in your carving add character. The design transfer is just your guide, not a prison.
Final Checks Before You Start Carving
You're almost there. Just a few final checks and you're ready to carve.
- Block is clean and dry
- Design lines are clearly visible and dark enough to follow
- Block is securely mounted or can be held steady
- Surface is smooth with no rough spots or bumps
- You've got good lighting at your workspace
That's it. Your block is prepared and ready. The work you've done in these last thirty minutes will pay off ten times over when you're carving and printing. A well-prepared block makes everything that follows — carving, inking, printing — faster and more enjoyable.
Next Steps
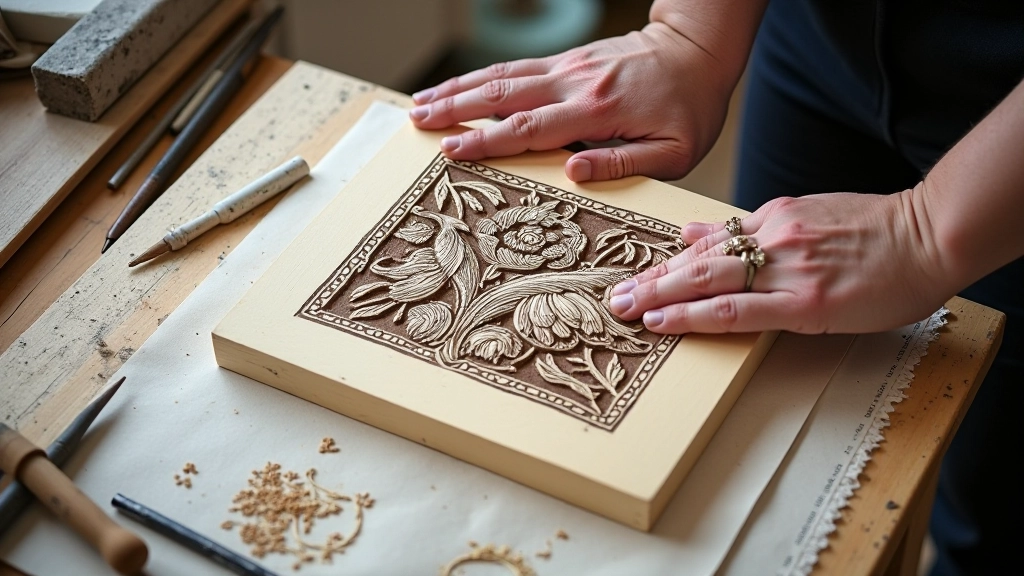
Once your block is ready, you'll move into carving. Start with the background areas and work toward your focal points. Take your time. Linocut isn't a race. Most beginners find that a 4x6 block takes 2-4 hours to carve completely, depending on design complexity.
Keep your tools sharp. A dull carving tool requires more pressure, which increases the chance of slipping and cutting yourself. We recommend honing your tools every 30-45 minutes of carving.