
Essential Carving Tools and Techniques
Which tools actually matter for beginners, and how to use them safely. We break down gouges, knives, and cutting angles in simple terms.
Written by
Focused on clear, practical guidance for linocut printmaking beginners.
Getting Started With the Right Tools
You don't need a massive set of tools to start carving. Honestly, most beginners overthink it. The good news? Three or four quality gouges will get you through your first dozen prints without any problems. We're talking about V-gouges, U-gouges, and maybe a knife for detail work. That's genuinely all you need to create clean, professional-looking blocks.
The real question isn't "which tool is best" — it's "what size works for your design." A wide U-gouge tears through large background areas fast. Narrow V-gouges let you create fine lines and detailed linework. Once you understand that difference, choosing becomes straightforward.
Understanding Gouge Shapes and Sizes
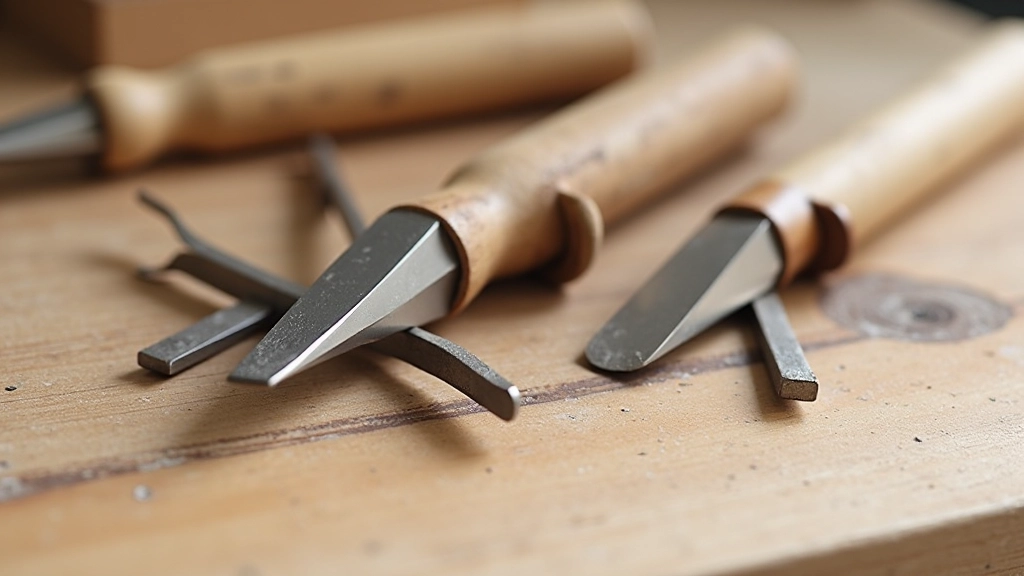
There are really only two main gouge shapes you'll use: the V-gouge and the U-gouge. A V-gouge has a V-shaped blade — perfect for lines, details, and creating definition. A U-gouge has a rounded bottom — it's your workhorse for clearing large areas and creating bold marks. Most beginners prefer starting with a set that includes 2-3 different widths in each shape.
Width matters more than you'd think. A 2mm V-gouge creates delicate, precise lines. A 6mm V-gouge makes bold statement lines. For U-gouges, narrow ones (3-4mm) work details, while wide ones (8-12mm) clear backgrounds in fewer strokes. You'll find yourself reaching for the 6mm U-gouge constantly — it's fast and gives satisfying results without being too aggressive.
Pro Tip: Blade Angle Matters
Hold your gouge at roughly 45 degrees to the block surface. Too shallow (nearly flat) and you'll slip. Too steep (nearly vertical) and you'll dig too deep. That 45-degree angle gives you control and smooth, predictable cuts. It's the difference between carving and stabbing at the block.
Cutting Techniques That Actually Work
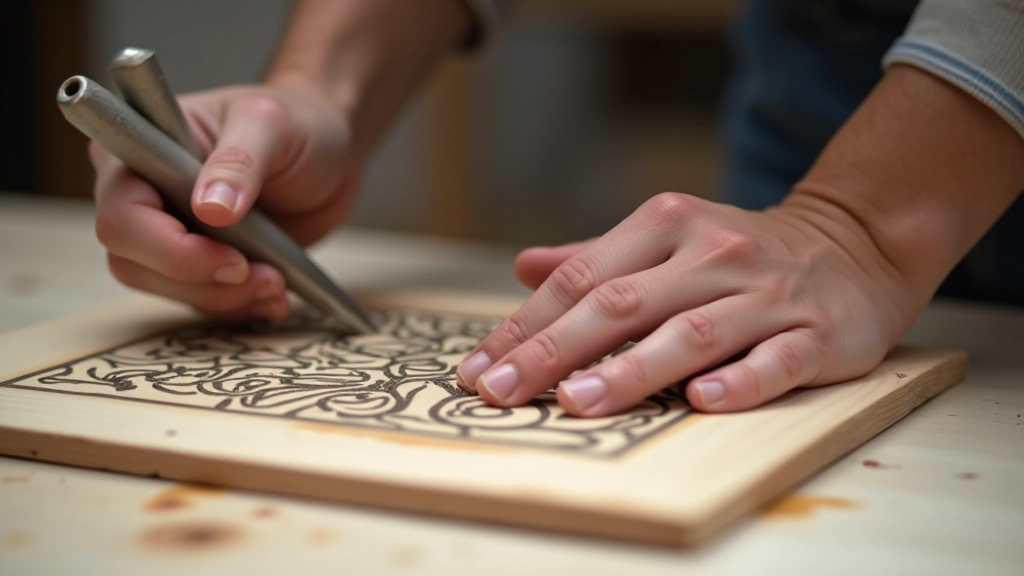
Here's the thing about cutting technique — it's less about strength and more about consistent movement. You're not chiseling wood. You're removing linoleum, which is softer and more forgiving. Push the tool forward in smooth, steady strokes. Don't hack at it. That smooth push removes a clean layer without splintering or creating rough edges.
Most beginners push too hard on their first attempts. The linoleum does the work if you let it. A light, consistent push beats aggressive jabbing every time. You'll feel the difference immediately — clean lines versus rough, torn edges. Work from one direction when you can. If you're carving a line, push away from your body in one stroke rather than going back and forth. It's faster and cleaner.
Safety First: Protecting Your Hands
Your hands are close to sharp tools — respect that. Use a cutting mat under your block so the gouge doesn't slip directly into your hand if something goes wrong. Wear a thumb guard or wrap your thumb with tape if you're worried. Some people use a leather pad in their non-carving hand. None of these are fancy — they're just practical.
Position your body so the tool points away from your hands. If you're sitting, prop the block at an angle. Don't hold it flat and carve toward your palm. Work with the block tilted, your body relaxed, and your carving hand moving away from you. Sharp tools are safer tools because they don't require forcing. Dull tools slip and cause accidents. Keep your gouges sharp and you'll carve safer.
Maintaining Your Tools for Better Results
Tool maintenance isn't complicated, but it matters. Linoleum dust builds up on blades. Wipe your gouge clean with a cloth between carving sessions. If your tool feels dull — meaning you're having to push harder or the cuts feel rough — it's time to sharpen. A sharpening stone or stropping with a leather strop keeps your tools in working condition.
Store your gouges carefully. A wooden tool roll, a fabric pouch, or even a box with foam keeps them safe and organized. Don't toss them loose in a drawer where the blades bang against each other. Good tools last years if you treat them right. A gouge you've been using for five years feels like an extension of your hand — worth the small effort to maintain it.
Educational Note
This guide provides informational content about linocut carving techniques and tool use. Individual results and techniques may vary based on personal skill, block type, and tool quality. Always prioritize safety when working with sharp tools. If you're new to carving, consider attending a hands-on workshop where instructors can demonstrate techniques in person and provide immediate feedback.
Key Takeaways
You don't need dozens of tools. Start with a few quality gouges in different sizes and shapes. Understanding the 45-degree cutting angle and using smooth, consistent pushing motion will improve your results immediately. Safety isn't an afterthought — position your workspace thoughtfully and respect sharp tools. Finally, keep your tools clean and sharp. That's the whole foundation right there. Master those basics and you'll be carving confident, clean prints within weeks.