
Your prints are finally done. You've carved the block, rolled the ink, and pressed it onto paper. But here's where a lot of people rush through the process — the finishing stage. It's not glamorous, but it's crucial. Whether you're hanging your work on a wall or storing it for later, how you finish your prints determines whether they'll look crisp and professional or faded and damaged in a few months.
The good news? Finishing doesn't require fancy equipment or complicated techniques. We're talking about simple, proven methods that any beginner can master. Let's break down what you need to know.
Quick tip: Most finishing problems come from rushing. Give your prints proper time to dry, and you'll avoid 90% of common issues like ink smudging or colors bleeding together.
Drying Your Prints Properly
This is the foundation of everything else. You can't mount, frame, or store a print that's still wet. But drying isn't just about waiting — it's about creating the right conditions.
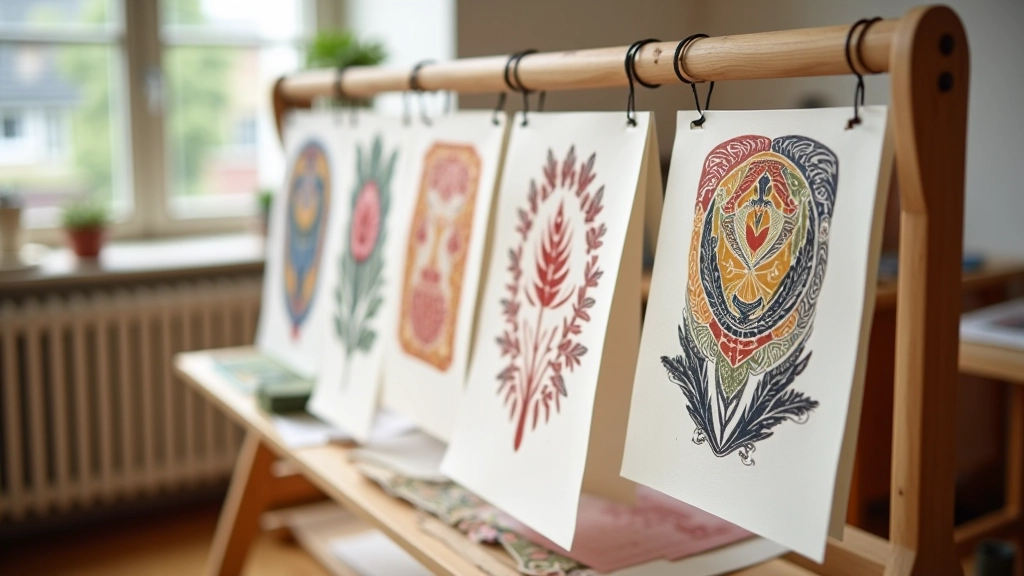
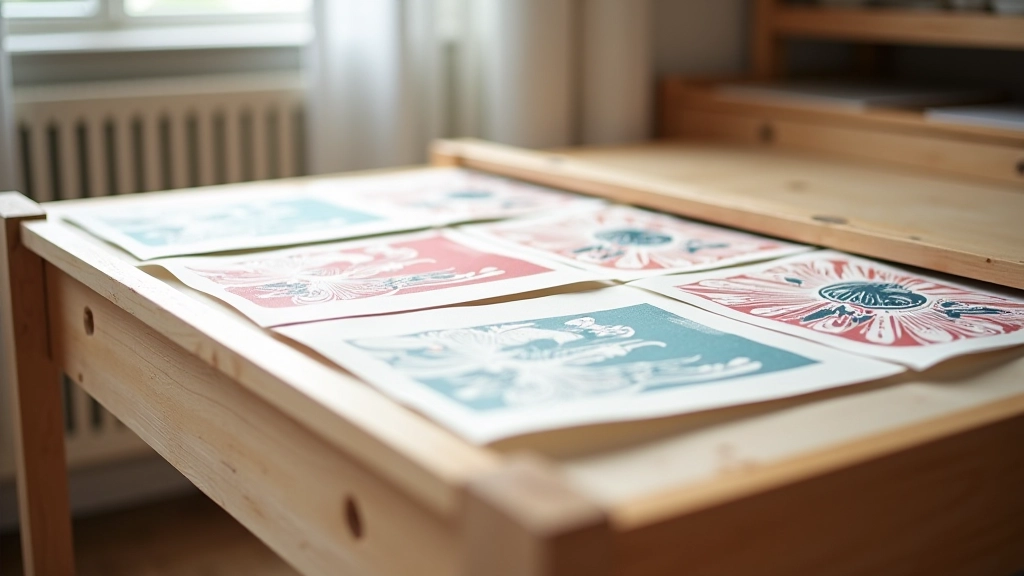
Most prints dry completely in 24-48 hours if you're patient. Don't try to speed it up with a hair dryer or heat gun. That'll cause the paper to curl and can make ink crack. Instead, lay your prints flat on a clean surface — a drying rack is ideal, but you can also use a large table or shelf. Make sure air can circulate around them, so don't stack them on top of each other while they're still wet.
The temperature matters too. You want a cool, stable environment. Around 18-22°C is ideal. Humidity should be moderate — not bone dry, but not damp either. If you live somewhere really humid, you might need to extend drying time to 72 hours. The ink will feel completely dry to the touch after about 12 hours, but it takes longer to fully cure.
Handling Color Variations
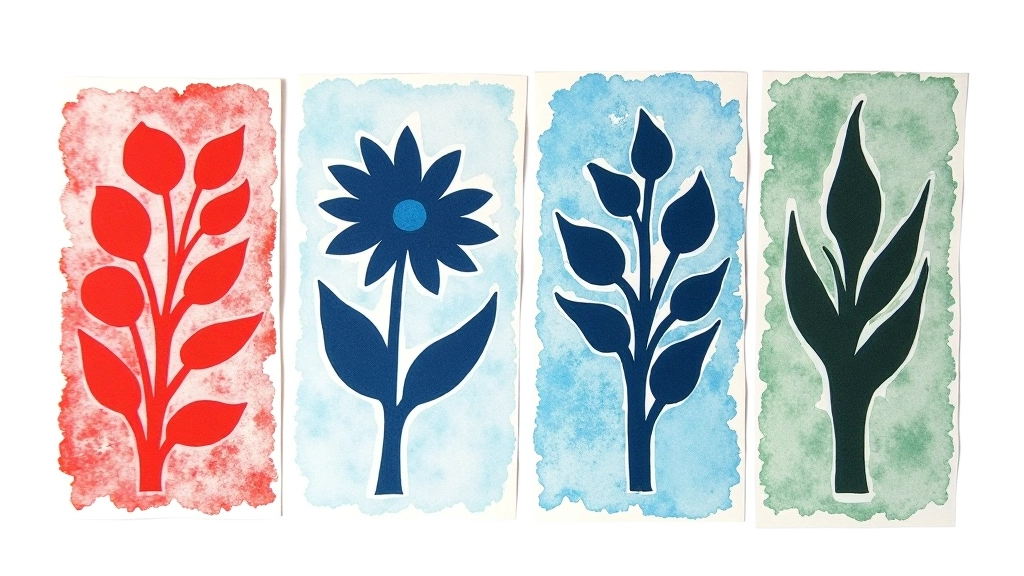
Here's something that surprises beginners: every print you make from the same block won't look exactly identical. That's not a mistake — it's part of the charm of relief printing. But you should understand why it happens so you can control it.
The biggest factor is how much ink you roll onto your block. If you roll heavier, you get darker, richer prints. If you use less ink, the prints are lighter. The paper matters too. Smoother paper picks up more ink detail. Textured paper creates a slightly mottled effect. Some people love this variation. Others want consistency across a series.
If you want prints to match closely, keep detailed notes on your process: how many passes with the roller, ink consistency, pressure applied when printing. Then replicate those exact steps for each print. But honestly? The natural variation is one of the things that makes handmade prints special.
Mounting and Framing Options
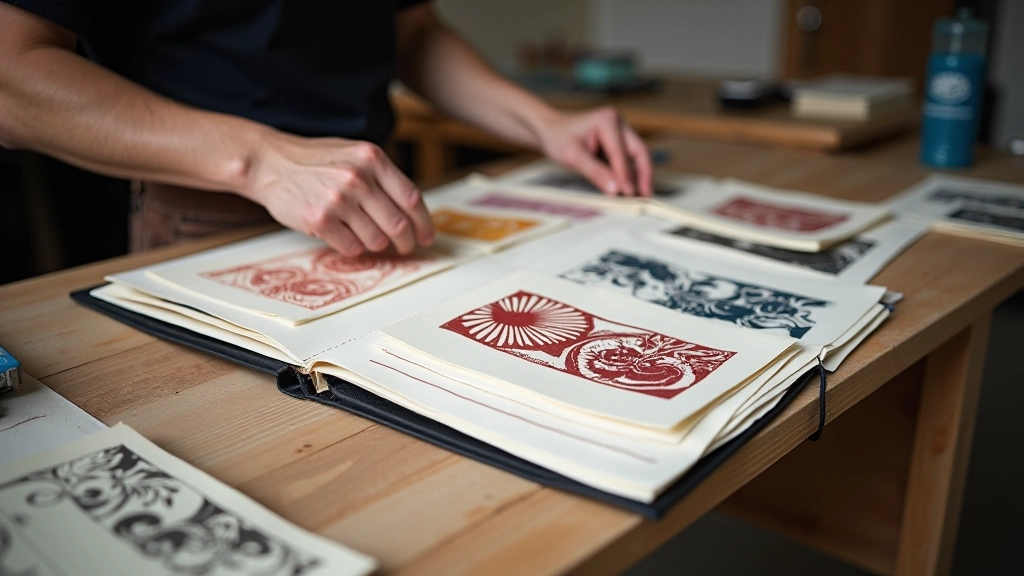
Once your print is fully dry, you have several paths forward. The simplest is to leave it as-is on nice paper — your finished print, ready to display. But if you want to protect it or create a more finished look, mounting and framing are worth considering.
Simple Mounting
The easiest option is dry mounting or using archival tape on the back. Dry mounting uses heat and pressure to permanently attach your print to backing board. It's permanent but creates a professional look. Archival tape (not regular tape!) lets you remove the print later without damage. Look for acid-free, reversible options.
Matting
A mat (or matte board) creates a border around your print. It protects the edges and gives your work a gallery feel. You'll need a mat cutter or mat cutting service. The opening size should leave a quarter-inch border of print visible. Archival-quality mat board prevents discoloration over time.
Framing Under Glass
Glass or acrylic protection shields your print from dust and damage. Use UV-protective glass if possible — it reduces fading. Never let glass touch the print directly. Leave a small air gap, or the glass can cause moisture damage. Simple frame kits are affordable and work well for beginners.
Storage and Archival Care
If you're not displaying your prints immediately, store them flat in a portfolio or box with acid-free tissue between each piece. Avoid plastic bags or regular cardboard — they'll degrade your prints over time. Keep them in a cool, dry place away from direct sunlight. Proper storage means your prints will look fresh 10 years from now, not yellowed and brittle.
Common Mistakes to Avoid
We've seen it happen: beautiful carving, perfect printing technique, then the finishing stage ruins it. Don't let that be you. The most common mistakes are simple to avoid if you know what to look for.
Using regular tape instead of archival tape will stain your print within months. Don't expose prints to direct sunlight for weeks on end — UV light fades the ink. And don't store them in damp basements or hot attics. Temperature swings cause the paper to expand and contract, which can warp your work.
Sealing and Protective Finishes
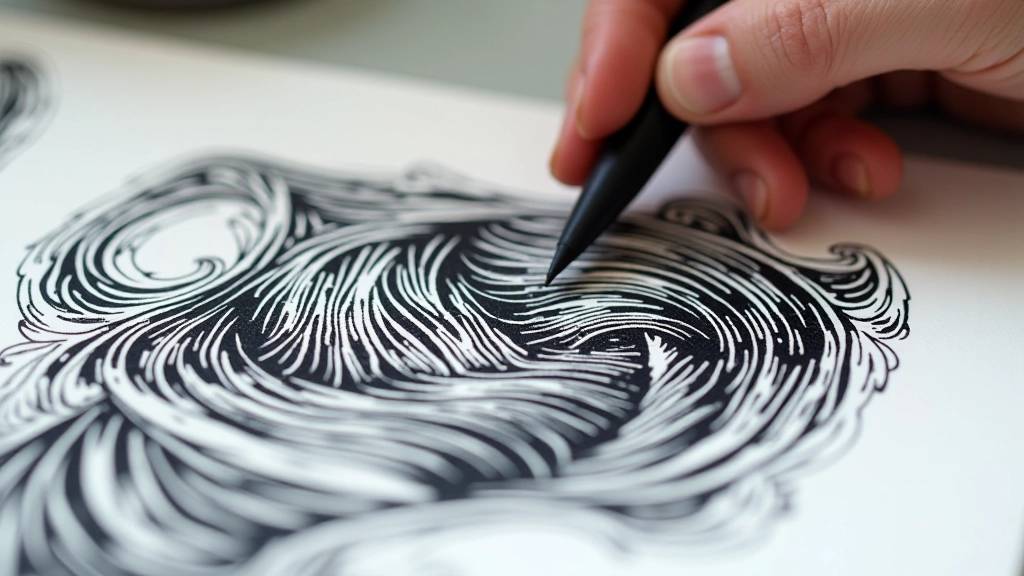
Some people ask about coating their prints with varnish or spray sealant. We don't recommend it for fine art prints. It changes the appearance of the ink, can make it glossy in ways you didn't intend, and it's permanent. Your print is finished the moment you peel it off the block. The beauty of relief printing is its authenticity.
If you need protection for practical reasons — like a print that'll be handled frequently — matting and framing under glass is a much better solution. That protects without altering the actual print.
Your Next Steps
Finishing your prints doesn't need to be complicated. Give them time to dry in stable conditions, handle color variations thoughtfully, and store them properly. Whether you frame them, mat them, or keep them loose in a portfolio, you've now got prints that'll stay beautiful and last for years.
The techniques you've learned — carving, inking, printing, finishing — these are the fundamentals. You're ready to experiment with different papers, try new ink colors, carve more complex designs. Each print teaches you something. That's what makes relief printing so rewarding.