
Ink Rolling and Print Application
Master the ink roller technique. Learn how to apply ink evenly, choose the right ink consistency, and troubleshoot common inking problems.
Why Inking Matters
Inking isn't just about slapping ink on your block and hoping for the best. It's where your carving comes to life — or where it falls flat. You've spent hours perfecting your design, cutting away the negative space, creating those intricate details. Then the ink roller comes out, and suddenly everything's at stake.
The difference between a muddy, uneven print and a crisp, professional-looking one often comes down to how well you've inked. We're talking about pressure, consistency, technique. Most beginners don't realize that ink application is actually a skill you can practice and improve. It's not magic — it's craft.
- Even ink coverage prevents dark and light spots
- Proper consistency prevents ink from flooding detail
- Right pressure gives you control and precision
- Correct technique saves time and reduces frustration

Getting Your Ink Consistency Right
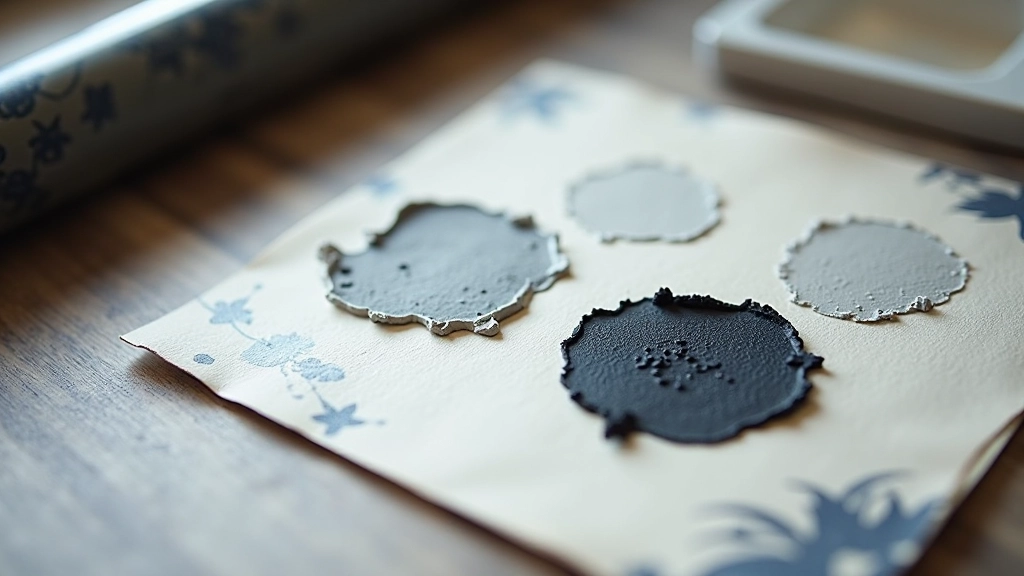
This is where most people struggle. Ink that's too thin will skip across your block and miss fine details. Ink that's too thick becomes sticky and won't spread evenly. You're looking for something like peanut butter — thick enough to hold its shape, soft enough to roll smoothly.
Start with a dollop about the size of a walnut. Roll it back and forth on your ink plate for 30-40 passes. Your roller should make a slight hissing sound as it moves. If you don't hear anything, your ink's probably too stiff. If it's making a wet splashing sound, you've got too much solvent or the ink's too thin.
Pro tip: Keep a small piece of newsprint nearby. Roll your inked brayer onto it. The print should show an even, solid color with no gaps. If you see streaks or thin spots, keep rolling to distribute the ink more evenly.
Educational Note
This guide provides practical information about linocut printmaking techniques. Results vary based on individual materials, practice level, and setup. We recommend practicing these methods before attempting finished prints. Consider attending a workshop or working with experienced printmakers for hands-on guidance.
The Rolling Technique
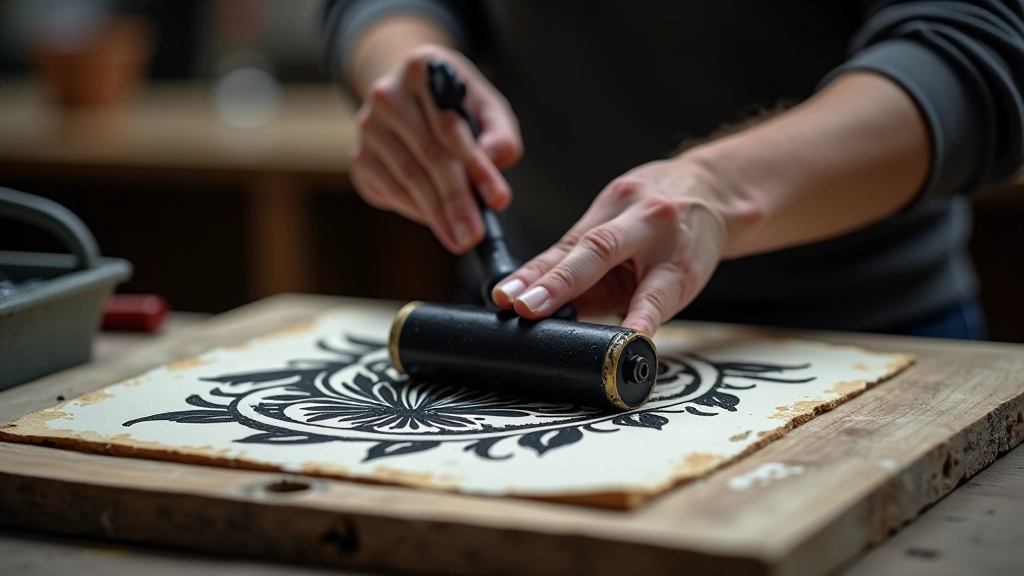
Don't just roll the brayer straight up and down. That's how you get an uneven print. Instead, use a rolling motion in multiple directions — up and down, side to side, then diagonally. Think of it like covering a wall with paint roller. You're creating overlapping passes so every part of your block gets contact.
The pressure matters too. You're not trying to squash the ink into submission. Gentle, consistent pressure is what you want. If you're pressing hard, you'll get ink pooling in your carved lines, which means your fine details disappear into a dark mess. Light pressure, multiple passes — that's the formula.
Roll ink onto your glass or metal plate until it's evenly distributed
Load your brayer by rolling it through the ink multiple times
Apply to block with light pressure, using multiple directional passes
Check coverage and roll again if needed
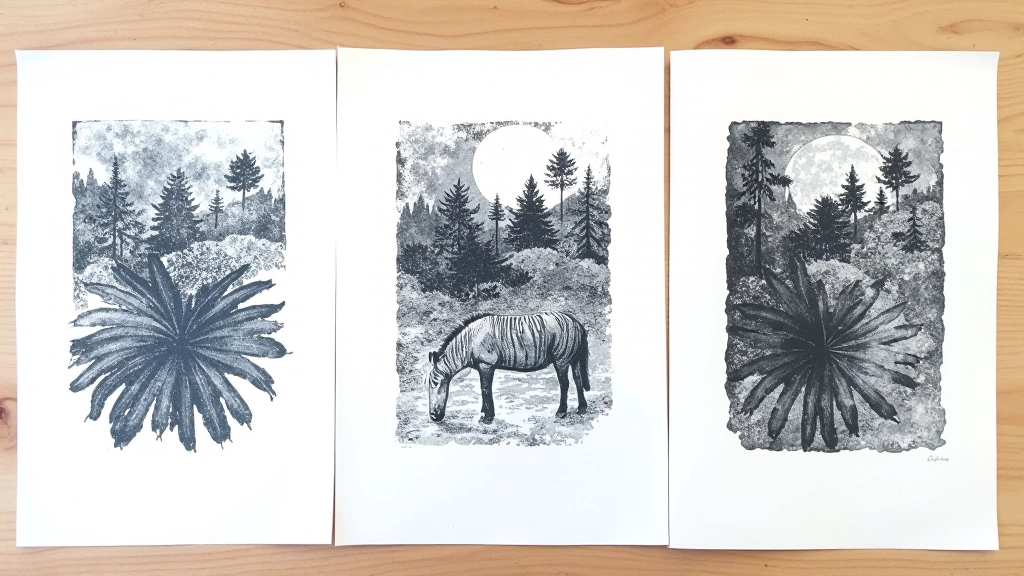
Fixing Common Inking Problems
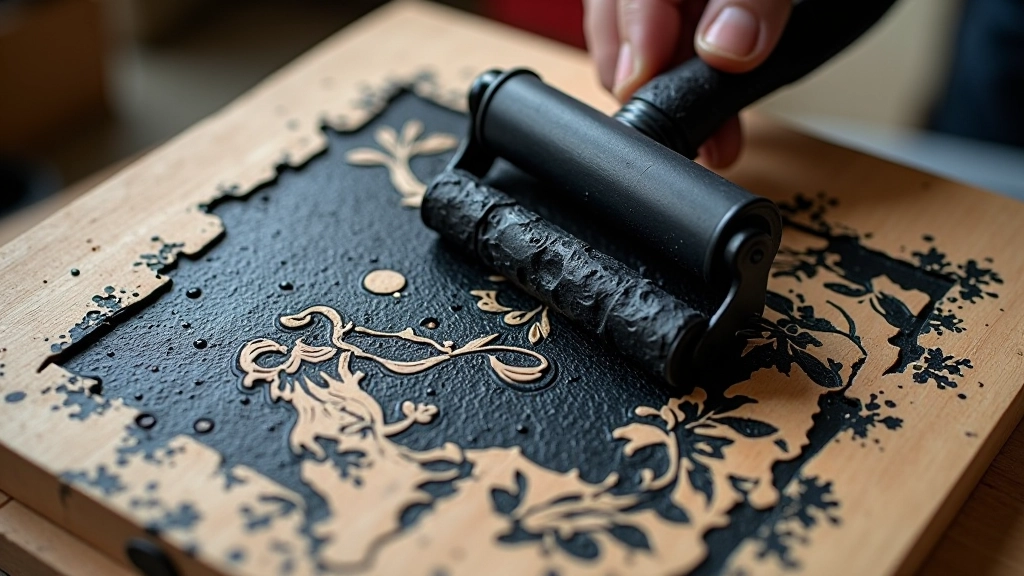
You'll run into issues — everyone does. The good news is that most of them are fixable once you know what's happening.
Streaky or patchy coverage
Your ink isn't being distributed evenly on the brayer. Spend more time rolling it on the glass plate before applying to the block. Make sure you're using multiple directional passes on the block itself.
Fine details disappearing into black
You're applying too much ink or pressing too hard. Use lighter pressure and fewer passes. Sometimes it's better to under-ink and do a second application than to over-ink in one go.
Ink not sticking to the block
Your block might be too smooth or have a film of dust on it. Wipe it gently with a barely damp cloth and let it dry completely. Some blocks need a quick light sanding to help ink adhere.
Essential Tools and Materials
You don't need an expensive setup, but certain tools make a real difference in your results.
Brayer Roller
A 4-inch brayer works well for most blocks. Natural rubber holds ink better than plastic, though plastic is more affordable to start.
Inking Plate
Glass, metal, or ceramic — something smooth and non-porous. An old tile or mirror works perfectly. Avoid plastic, which ink can stain permanently.
Printing Ink
Oil-based ink gives richer blacks and more control. Water-based ink cleans up easily but can dry quickly on the plate. Both work — it's personal preference.
Test Paper
Cheap newsprint or scrap paper. Use this to test your inking before committing to your good paper. You'll go through a lot of test prints.
Practice Makes Better
Honestly, there's no substitute for doing it. The feel of the brayer in your hand, the sound it makes, the way the ink transfers — that comes from repetition. Don't get frustrated if your first prints aren't perfect. Most people spend their first 20 or 30 prints just getting a feel for the process.
What we've covered here — ink consistency, rolling technique, pressure control, troubleshooting — these are the fundamentals. You've got them. Now it's about putting them into practice, paying attention to what's working and what isn't, and adjusting as you go. Your next print is your best learning opportunity.
Ready to apply these techniques? Start with your carved block and some test paper.
Explore finishing techniques nextRelated Articles
Preparing Your Linoleum Block Correctly
Get your surface ready before carving. We cover block selection, surface preparation, and transferring your design.
Essential Carving Tools and Techniques
Which tools actually matter for beginners, and how to use them safely. We break down each tool's purpose.
Finishing Your Prints Successfully
What happens after you print. Covers drying techniques, color variations, and mounting your finished work.